
Shaping Color: Curves, Easing Presets & the Color Info Bar
- editor
- curves
- oklch
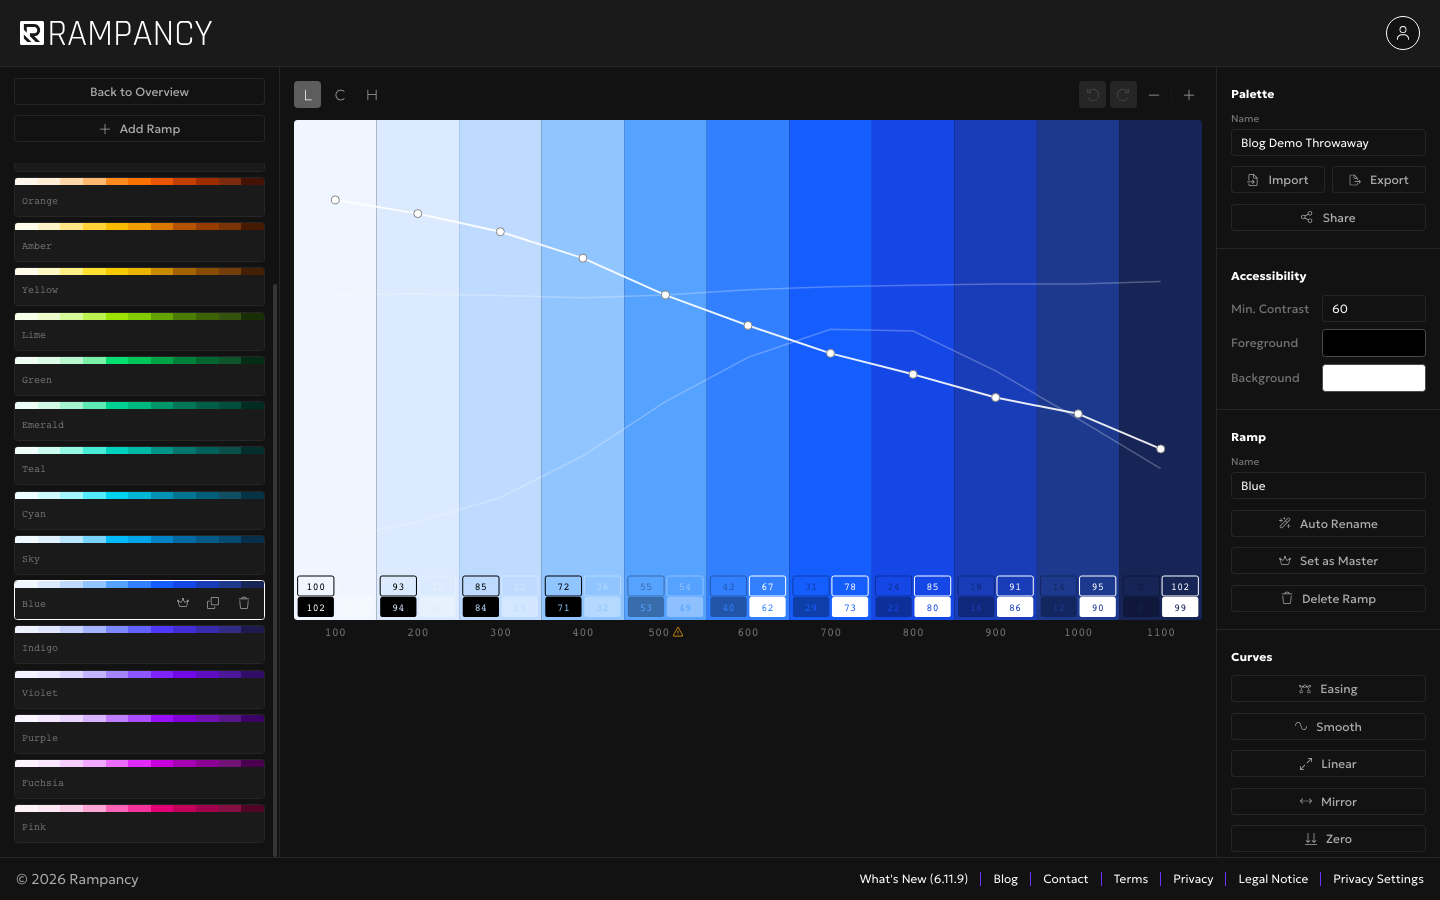
Drag a single point on a lightness curve and watch that one step answer to it, without disturbing the rest of the ramp. Rampancy's curve editor shapes lightness, chroma, and hue independently in OKLCH, applies easing presets instead of eyeballing a gradient by hand, and shows exact color values for any step you click, no separate tool required.
What You'll Need
- A palette with at least one ramp. Build one from scratch or load the built-in Tailwind preset to follow along. No account needed; the curve editor runs for guests.
Step 1: Open a ramp and look at its curve
Open any ramp in the editor and you land on the Lightness (L) tab by default. The white line tracing across the canvas is the curve for that channel, one point per step, with the ramp's actual colors filling the bands behind it. Grab a point and drag: up raises that step's value, down lowers it. Grab the line between points and drag to move the whole curve at once.
Step 2: Switch to chroma or hue
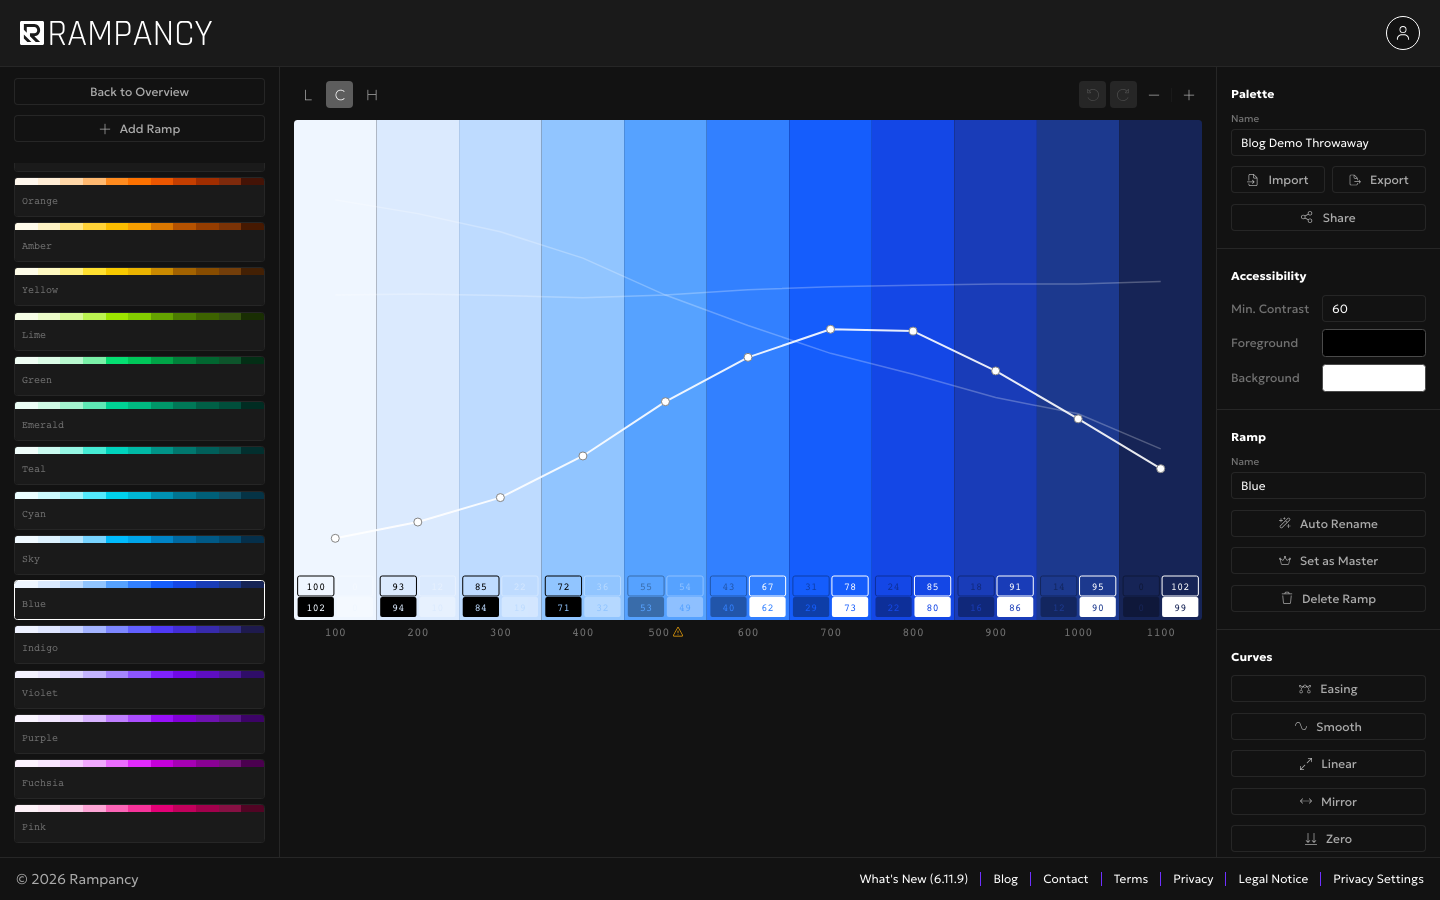
The L, C, H tabs above the canvas swap which channel you're editing. Those are OKLCH's channels, the space this walkthrough uses; a palette built in OKHSL or HSL shows H, S, L instead, and an RGB one shows R, G, B. Chroma controls colorfulness, how far a color sits from gray at a given lightness, and it isn't the same measurement as HSL saturation, so a ramp ported from an old HSL palette can look flatter or punchier than you'd expect until you check chroma directly. Hue is the angle around the OKLCH color wheel: 260° sits in blue territory regardless of how light or saturated the step is.
Step 3: Reshape the curve by hand
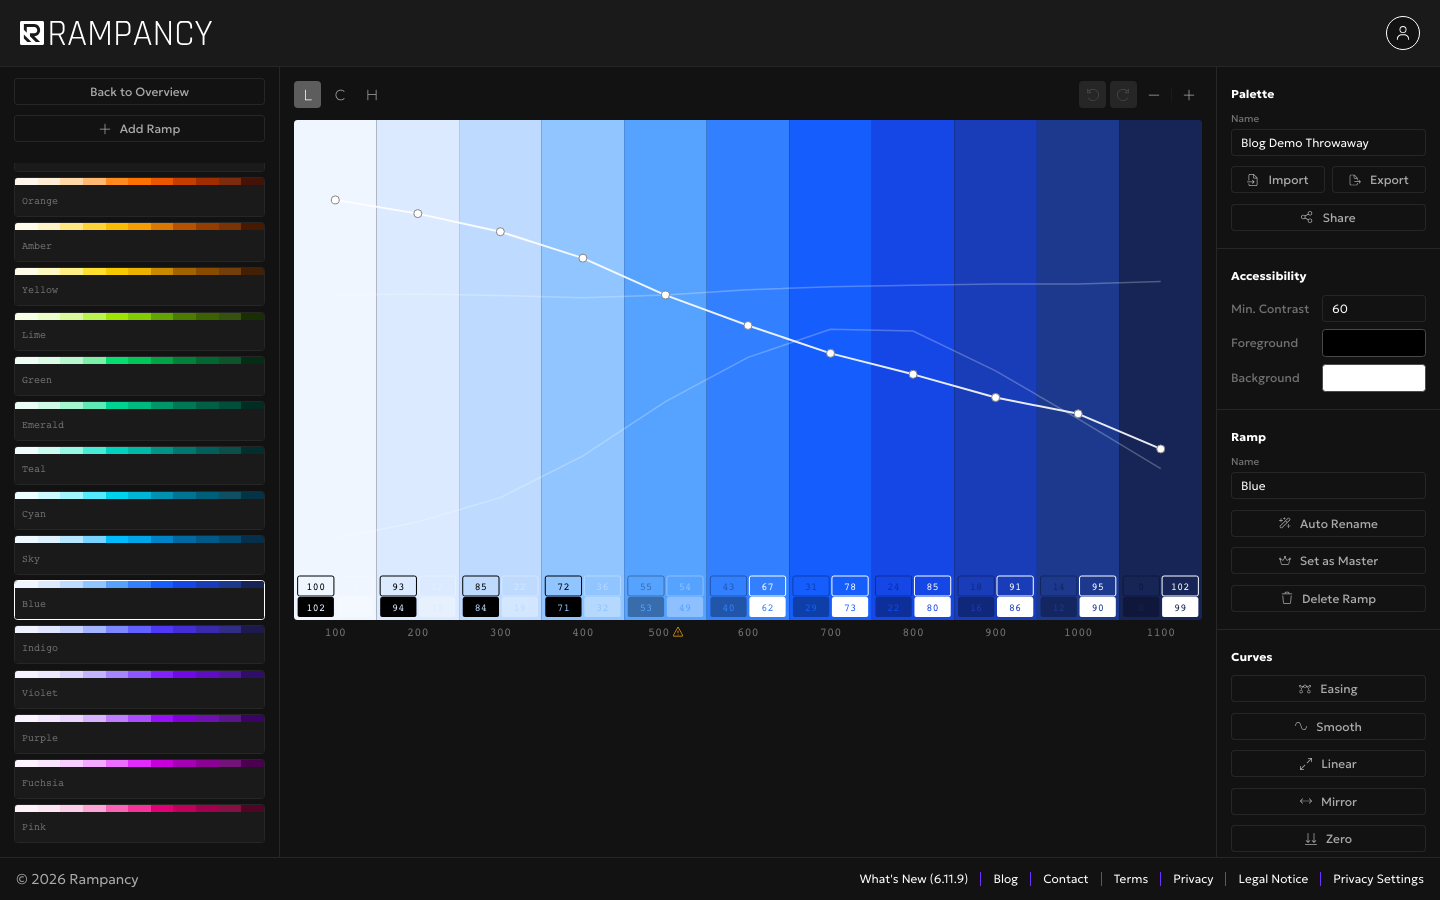
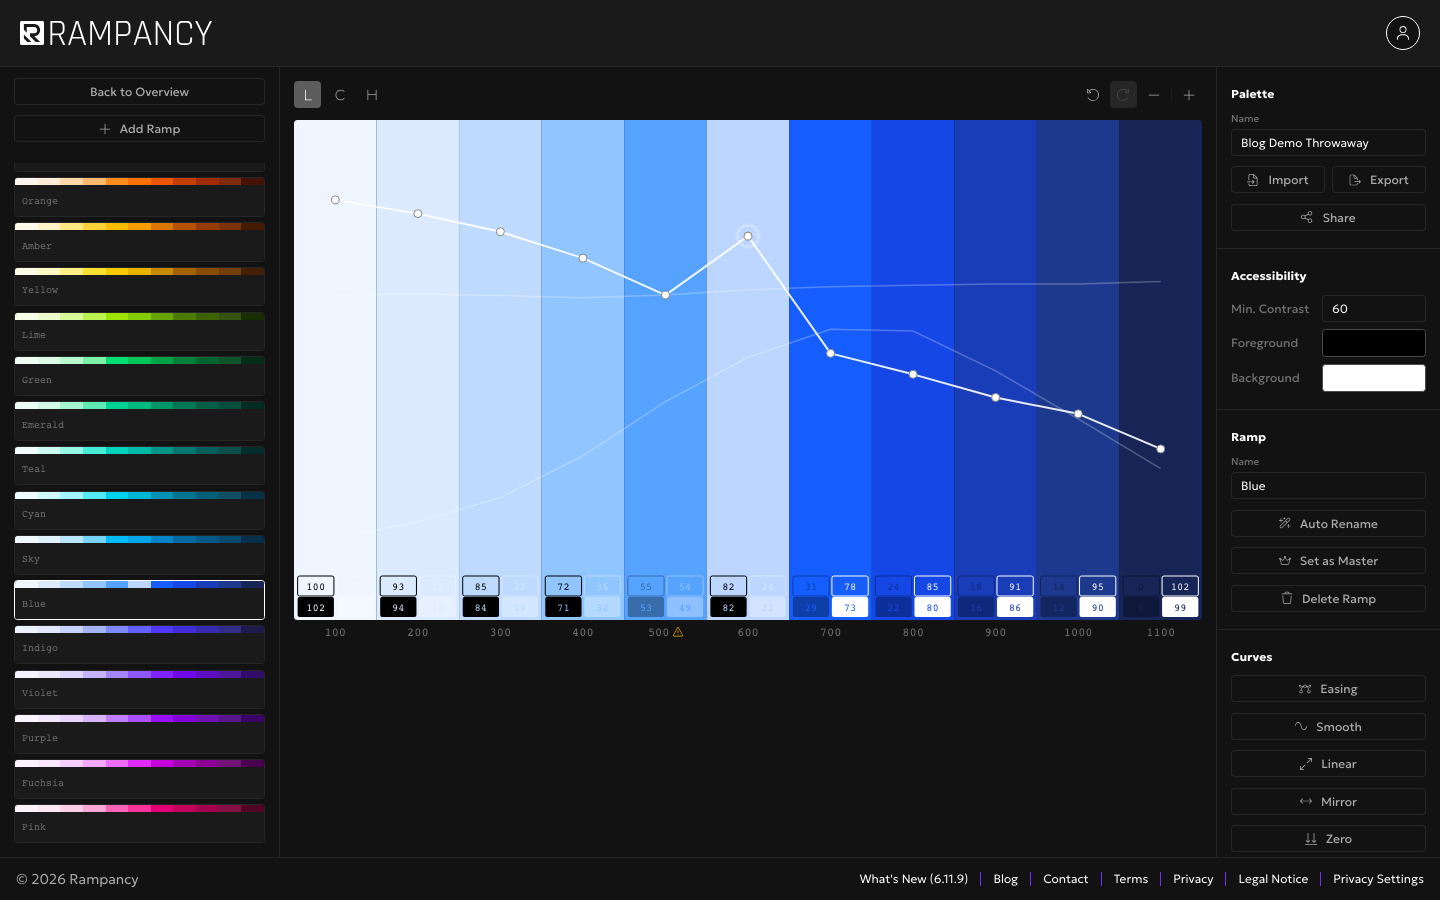
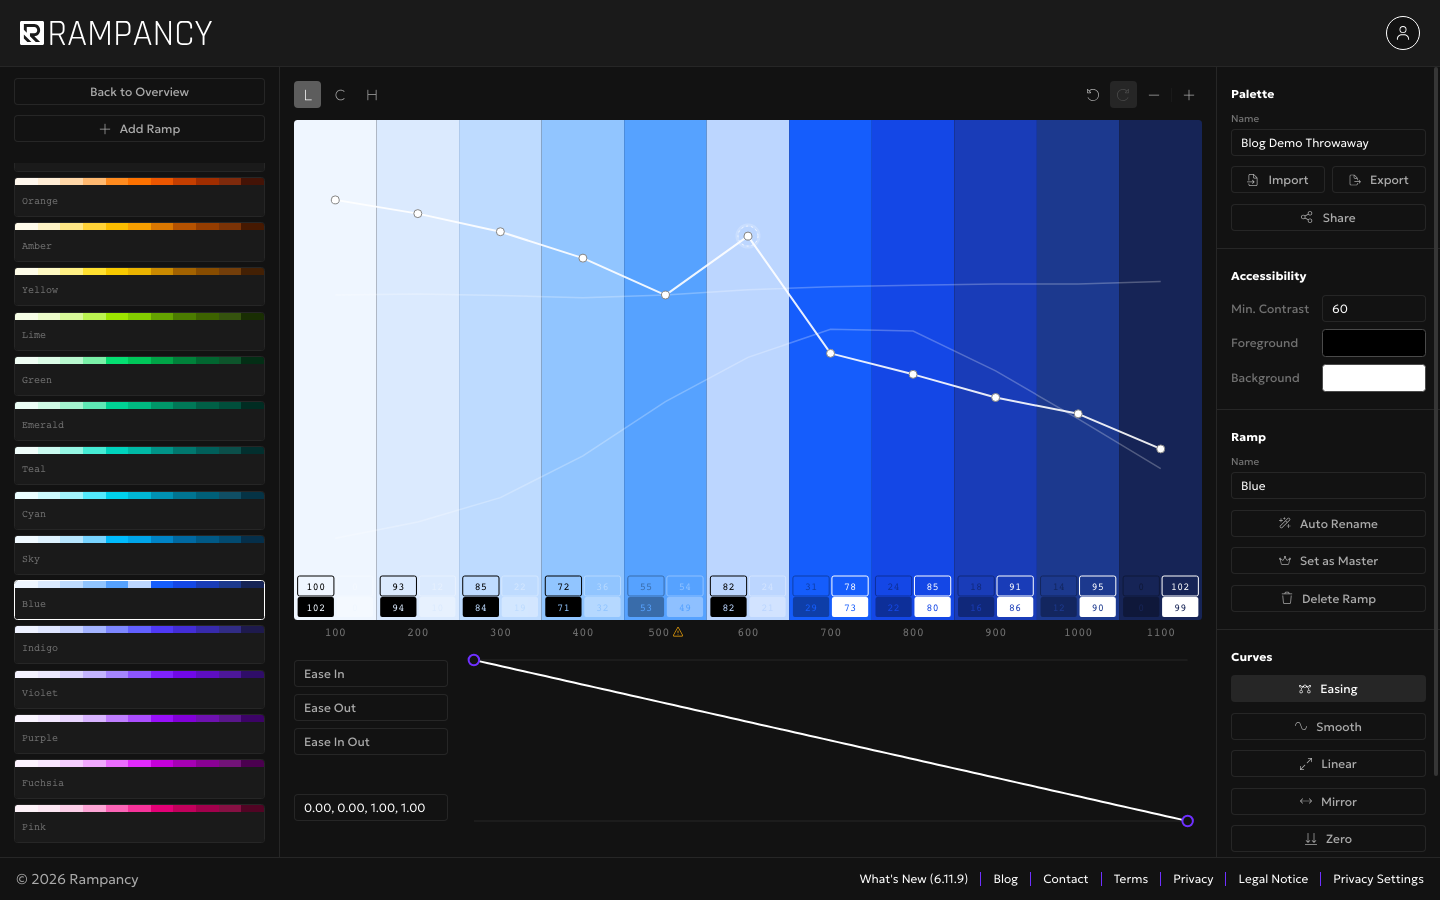
Click and drag any point to push just that step brighter or darker. This is how you carve out a deliberately punchy accent step in the middle of an otherwise smooth ramp, the kind of thing a purely mathematical gradient won't give you. The first time I tried this I grabbed the connecting line instead of the point and dragged the entire curve sideways, which is a fast way to undo ten minutes of work in half a second. The point handles are small; aim for the dot, not the line near it.
Step 4: Apply an easing preset
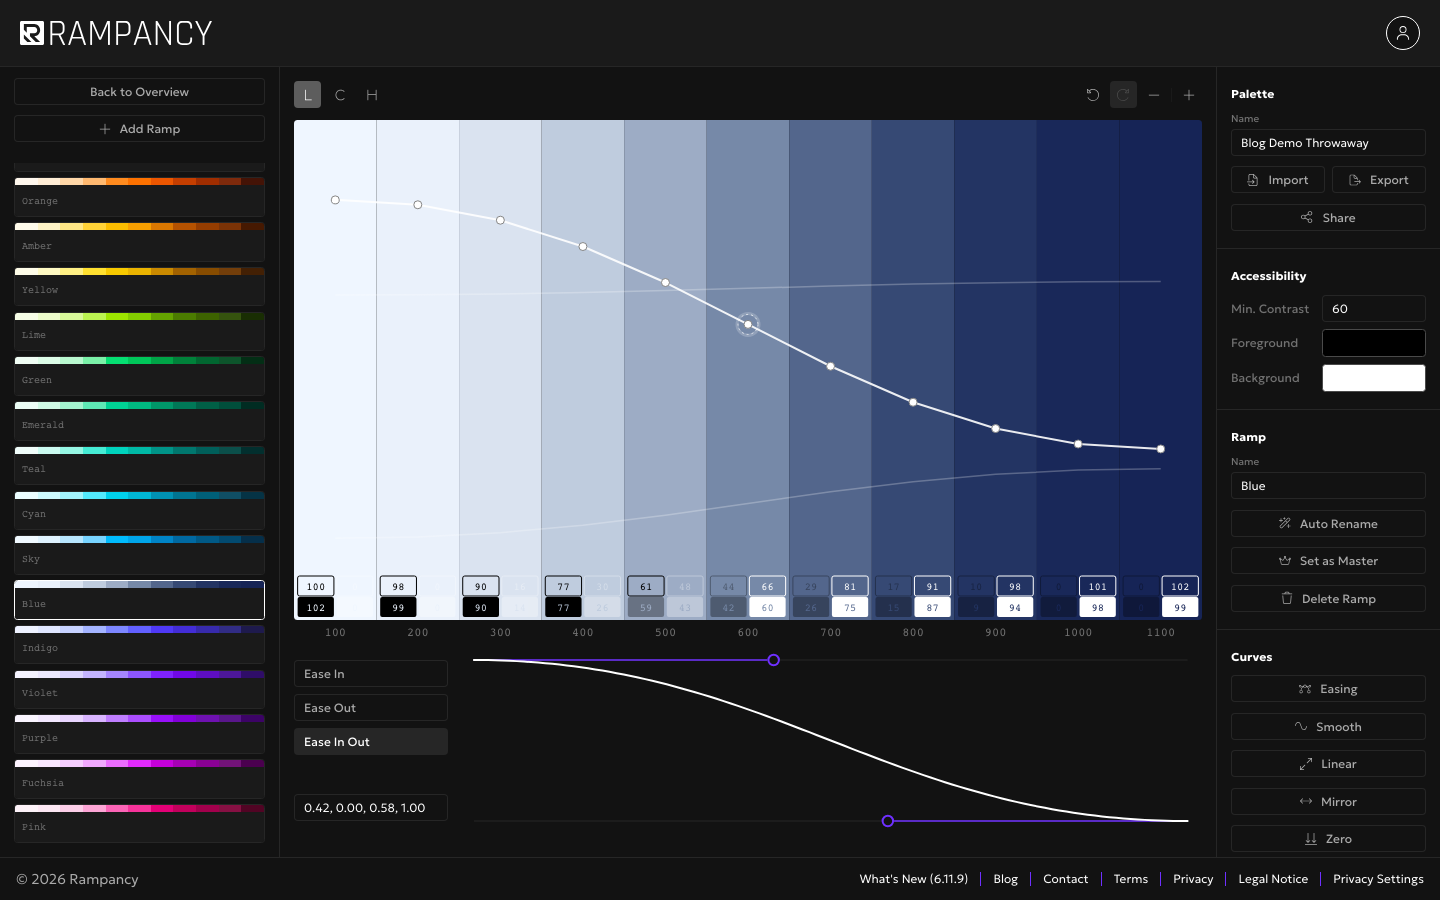
Curve edits don't have to be freehand. Click Easing to open a panel with three presets: Ease In, Ease Out, and Ease In Out, plus two draggable bezier handles and a coordinate field if you already know the exact numbers you want (x1, y1, x2, y2, each between 0 and 1). Applying a preset rewrites every point on the active channel at once. The panel closes automatically when you switch channels, so a change meant for hue can't accidentally keep landing on lightness.
Step 5: Read exact values from the Color Info Bar
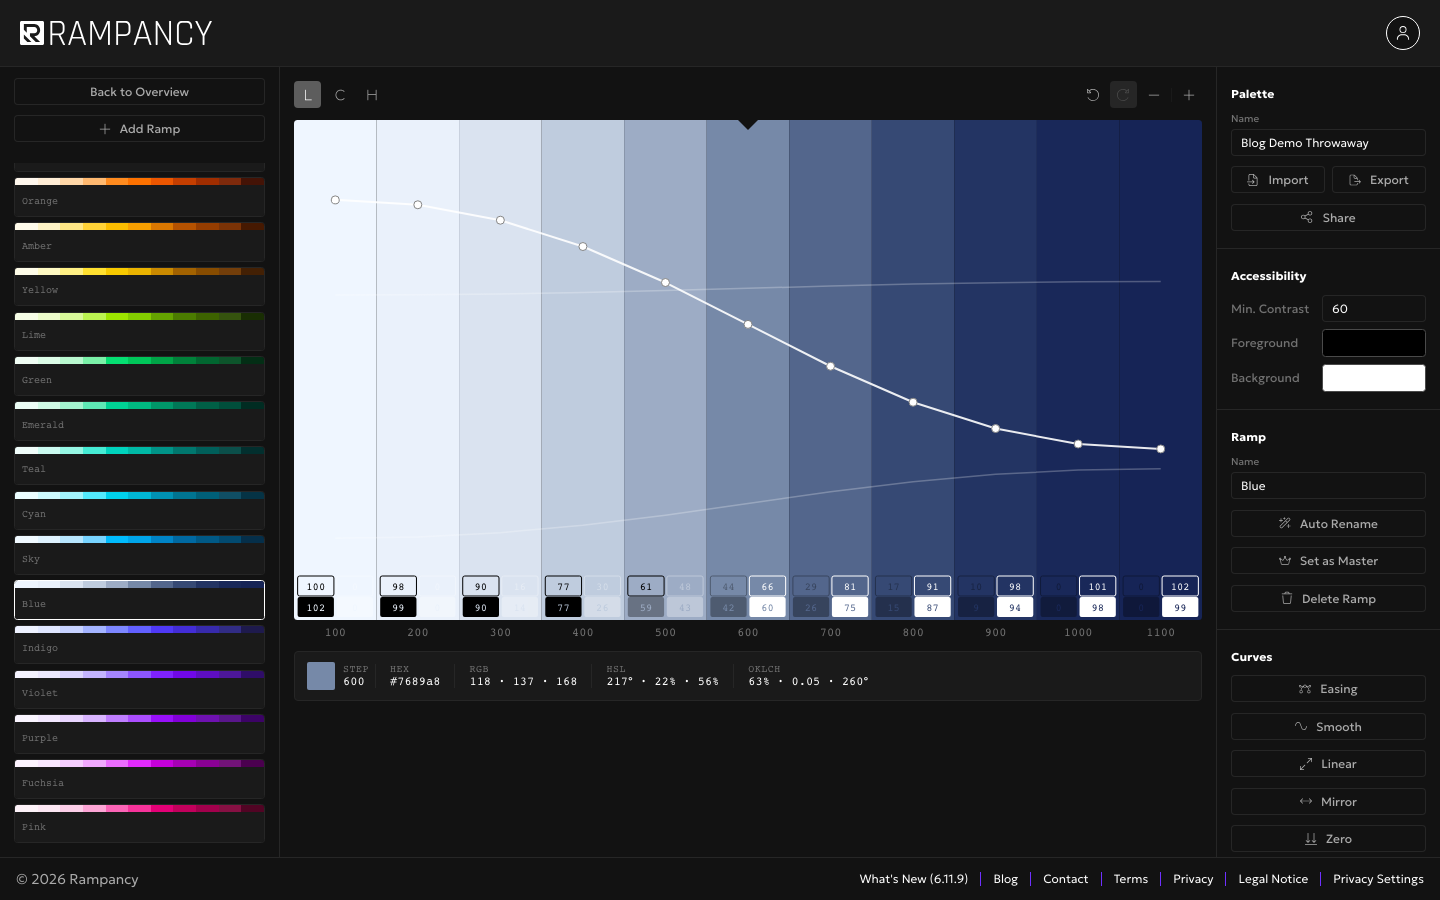
Click any single step and a bar appears below the canvas: a swatch, the step label, and four value formats side by side, HEX, RGB, HSL, and OKLCH. Click any of them to copy it. For one step from a blue ramp in this walkthrough, that bar read #7689a8, 118 · 137 · 168 in RGB, 217° · 22% · 56% in HSL, and 63% · 0.05 · 260° in OKLCH, four ways to hand the same color to four different tools without doing the math yourself.
FAQ
Does dragging one point change the rest of the ramp?
No, not by default. A point edit stays local to the step you grabbed. The one exception is a ramp set as Master, a separate feature for keeping several ramps in sync, where lightness and chroma edits do propagate.
What's the real difference between chroma and saturation?
HSL saturation is relative to how light or dark a color already is, so "100% saturated" looks different at every lightness level. OKLCH chroma is an absolute distance from gray, which is why two steps at very different lightness can share the same chroma value and still look consistently vivid next to each other.
Can I nudge a single step without dragging?
Yes. Select a point and use the arrow keys: up or down moves it by 1, holding Shift moves it by 10. Useful for small corrections after a drag got you close but not exact.
Palettes built from real curves, not guesswork, are a few clicks away. Give the editor a try and see what your ramps look like with real math behind them.